|
|
|
|
|
7.2. Extracting Audio Tracks |
Top Previous Next |
|
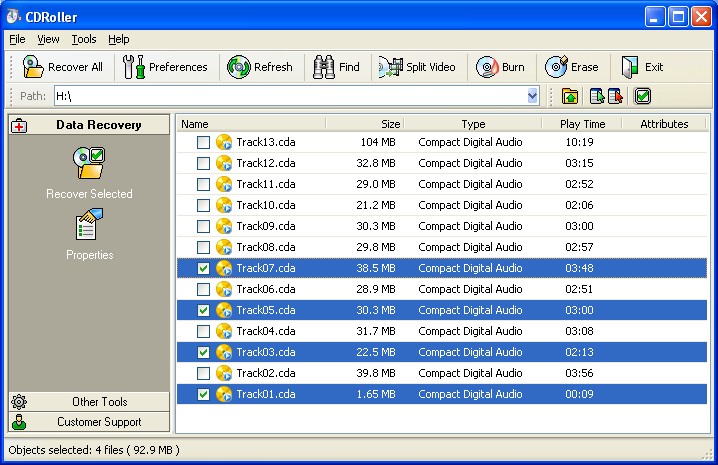
To extract ("rip") audio track(s): 1. Insert CD audio into the drive. 2. After disk recognition left double click on CD name in the Main Window. The program displays the Main Window similar to the one shown here.
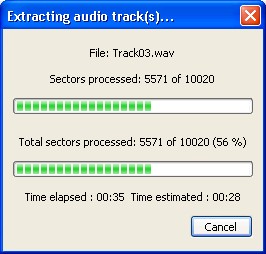
3. Select the track(s). 4. Click the Recover Selected command in the Side Bar, or simply drag and drop selected track(s) to the destination on HDD. 5. The program displays a progress dialog similar to the one shown here.
To extract audio tracks the program utilize the method known as Digital Audio Extraction (DAE). Key features:
Hint. To change default settings (select another encoder, extraction method, etc.) use Audio Extraction tab in the Preferences dialog.
Troubleshooting. For the "problem" Audio CDs (discs with various defects, written with hardware or software errors, etc.), or when you get the "Can not process Digital Audio Extraction ..." message, we recommend to check the Read damaged sectors "as is" under Browser tab in the program Preferences and try to extract audio track(s) again.
|
|
|
|
|
|