|
|
|
|
|
6.10. Burning recovered data |
Top Previous Next |
|
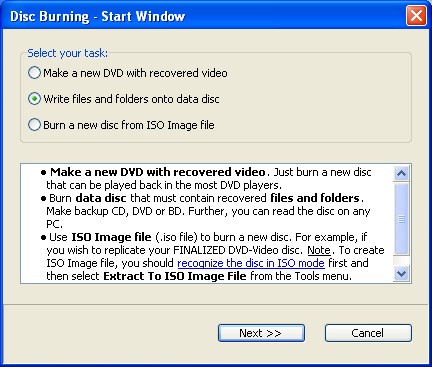
CDRoller Wizard interface allows to burn the recovered data, using a simple "step by step" procedure. To display the Wizard dialog, just click the Burn button in the Main ToolBar or select the same option from File Menu.
Here is an example how to use a Wizard interface in order to place a recovered files and folders onto a new DVD+RW disc. First, you should select your task in the Start Window and click the Next button:
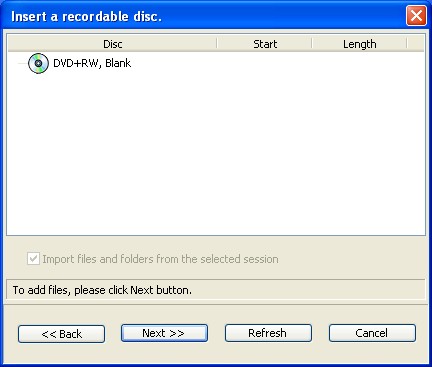
Now, please select your burner (computer drive) and click the Next button. The displayed drive features can help you to determine whether the selected device supports the type of CD or DVD media you want to burn. For example, do not try to burn DVD discs, using CD-RW drive.
Just insert a new (blank) disc and click the Next button. For multisession disc, you can select a prior session to be included into a current compilation.
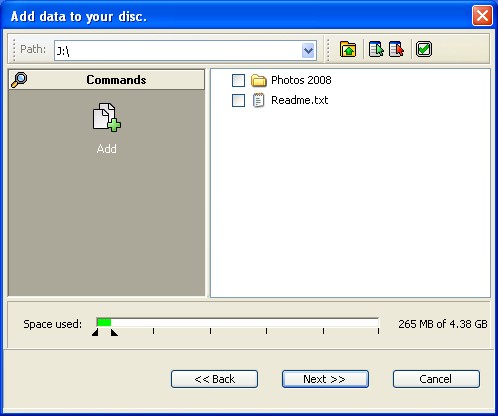
Now, please add files or/and folders into your current compilation and click the Next button. You can use Add button, or just drag files and folders from the Windows Explorer. To edit a current compilation, please use Delete and Rename options for the selected item(s).
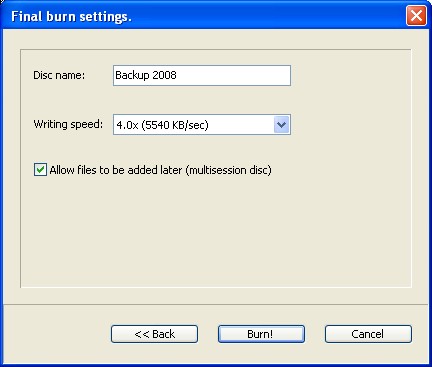
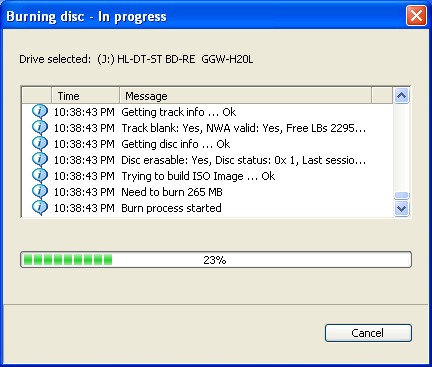
At this step, you can edit disc (session) name, assign writing speed and choose - whether you will add a new files on the same disc later or not. To start a burn process, just click the Burn! button.
Finally, you should see "Burning disc ..." dialog similar to the one shown here.
Notes. 1. We do not recommend to try to place a new files onto your "troubled" discs. Also, please do not try to close these discs, hoping to make them readable for Windows. The most safe way is to recover your files from the "troubled" disc to Hard Disk Drive (HDD) first, and then place (write) them onto a new (blank) disc. 2. To erase your re-writable disc, just click the Erase button in the Main ToolBar or use the same option from File Menu. |
|
|
|
|
|